Introduction
I wanted to build a simple automation that sends me a Telegram message when the weather changes. The idea was simple: connect a weather service to Make, check the condition, and send a message through a Telegram bot.
It sounded easy at first, but one part confused me more than expected: finding the Telegram Chat ID.
In this guide, I’ll show you how I built the automation step by step, where I got stuck, and how I finally fixed it.
What This Automation Does
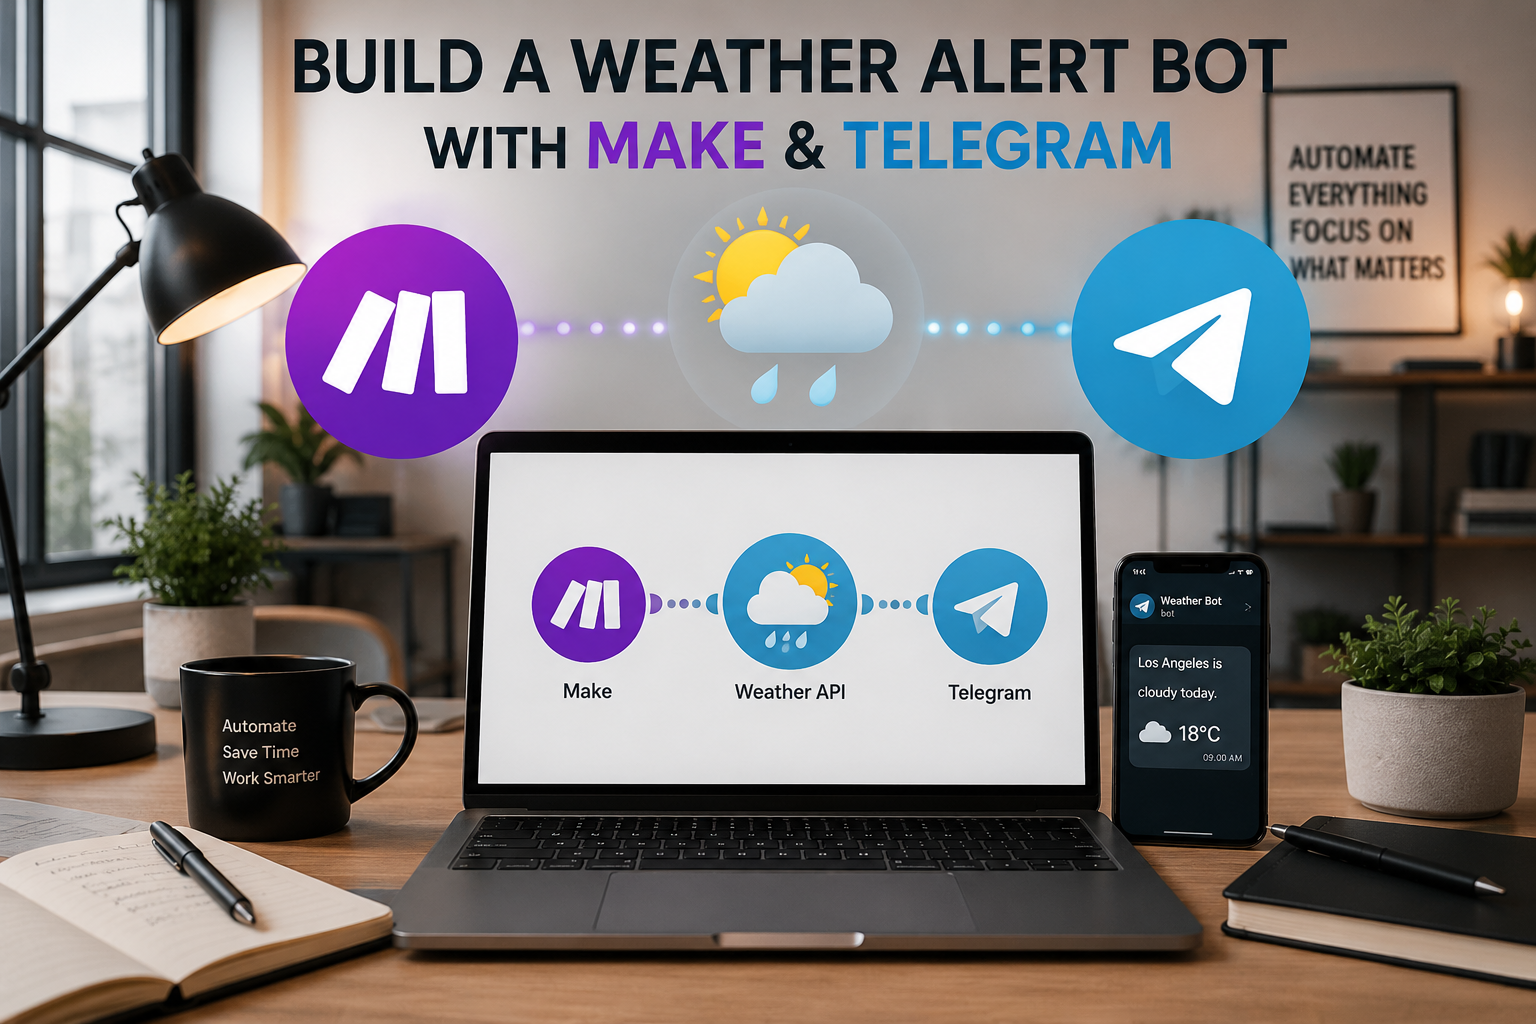
This Make scenario checks the weather for a selected city and sends a Telegram message when the condition matches what I want.
For example:
“Los Angeles is cloudy today.”
You can customize it for:
Cloudy weather
Rainy weather
Snow alerts
Temperature changes
Daily weather updates
Tools I Used
For this workflow, I used:
Make
Telegram Bot
A weather API or weather module
A Telegram Chat ID
The goal was not to build something complicated. I wanted a beginner-friendly automation that actually works.
Step 1: Create a Telegram Bot
First, I opened Telegram and searched for BotFather.
Then I typed:
/newbot
BotFather asked me to choose a name and username for the bot. After creating it, Telegram gave me a bot token.
This token is important because Make uses it to connect to your Telegram bot.
Step 2: Add Telegram to Make
Inside Make, I created a new scenario and added a Telegram Bot module.
I selected:
Send a Text Message
Then Make asked for a connection. I pasted the bot token from BotFather.
At this point, the bot was connected successfully.
But then I hit the confusing part.
Step 3: The Chat ID Problem
Make asked me for a Chat ID.
At first, I didn’t know what this meant. I thought maybe it was the bot username, my Telegram username, or the bot token.
It wasn’t.
The Chat ID is a unique number that identifies the conversation where the bot should send the message.
This is where I got stuck.
Step 4: How I Found the Telegram Chat ID
The easiest way I found was this:
First, I sent a message to my Telegram bot.
I opened the bot in Telegram and typed:
/start
Then I went back to Make and added another Telegram Bot module temporarily.
This time, I selected:
List Updates
Then I clicked Run once in Make.
After that, Make showed the recent Telegram updates from my bot.
Inside the result, I looked for:
chat → id
That number was my Telegram Chat ID.
Once I copied that number and pasted it into the Send a Text Message module, everything worked.
Step 5: Add the Weather Module
Next, I added a weather module in Make.
The exact module depends on which weather service you use, but the idea is the same:
Choose the city
Get the current weather
Read the condition
Use that condition in the next step
For my test, I used Los Angeles and checked whether the weather was cloudy.
Step 6: Write the Telegram Message
In the Telegram message field, I wrote something simple like:
Los Angeles is cloudy today.
You can also make it dynamic:
The weather in Los Angeles is currently {{weather condition}}.
This makes the message update automatically based on the weather data.
Step 7: Add a Filter
If you only want the message when the weather is cloudy, you need to add a filter between the weather module and Telegram.
For example:
Condition contains: clouds
This means Telegram will only send a message when the weather condition matches cloudy weather.
If you want alerts for every weather change, you can remove the filter or create different conditions for rain, clouds, snow, and clear sky.
Step 8: Schedule the Automation
After the workflow worked, I scheduled it.
For example, Make can check the weather:
Every morning
Every 3 hours
Once a day
At a specific time
If the condition matches, the Telegram message is sent automatically.
What I Learned
The hardest part was not the weather module. It was understanding the Telegram Chat ID.
The bot token connects your bot to Make, but the Chat ID tells Make where to send the message.
Once I understood that, the rest of the automation became much easier.
Final Thoughts
This is a simple but useful beginner automation. It teaches you how Make works with APIs, Telegram bots, conditions, and scheduled workflows.
It is also a good first project if you want to learn automation without building a complex system.
You can start with a cloudy weather alert, then improve it later by adding:
Rain alerts
Daily weather summaries
Multiple cities
Different Telegram messages
AI-generated weather summaries
For beginners, this is a small workflow that teaches a lot.