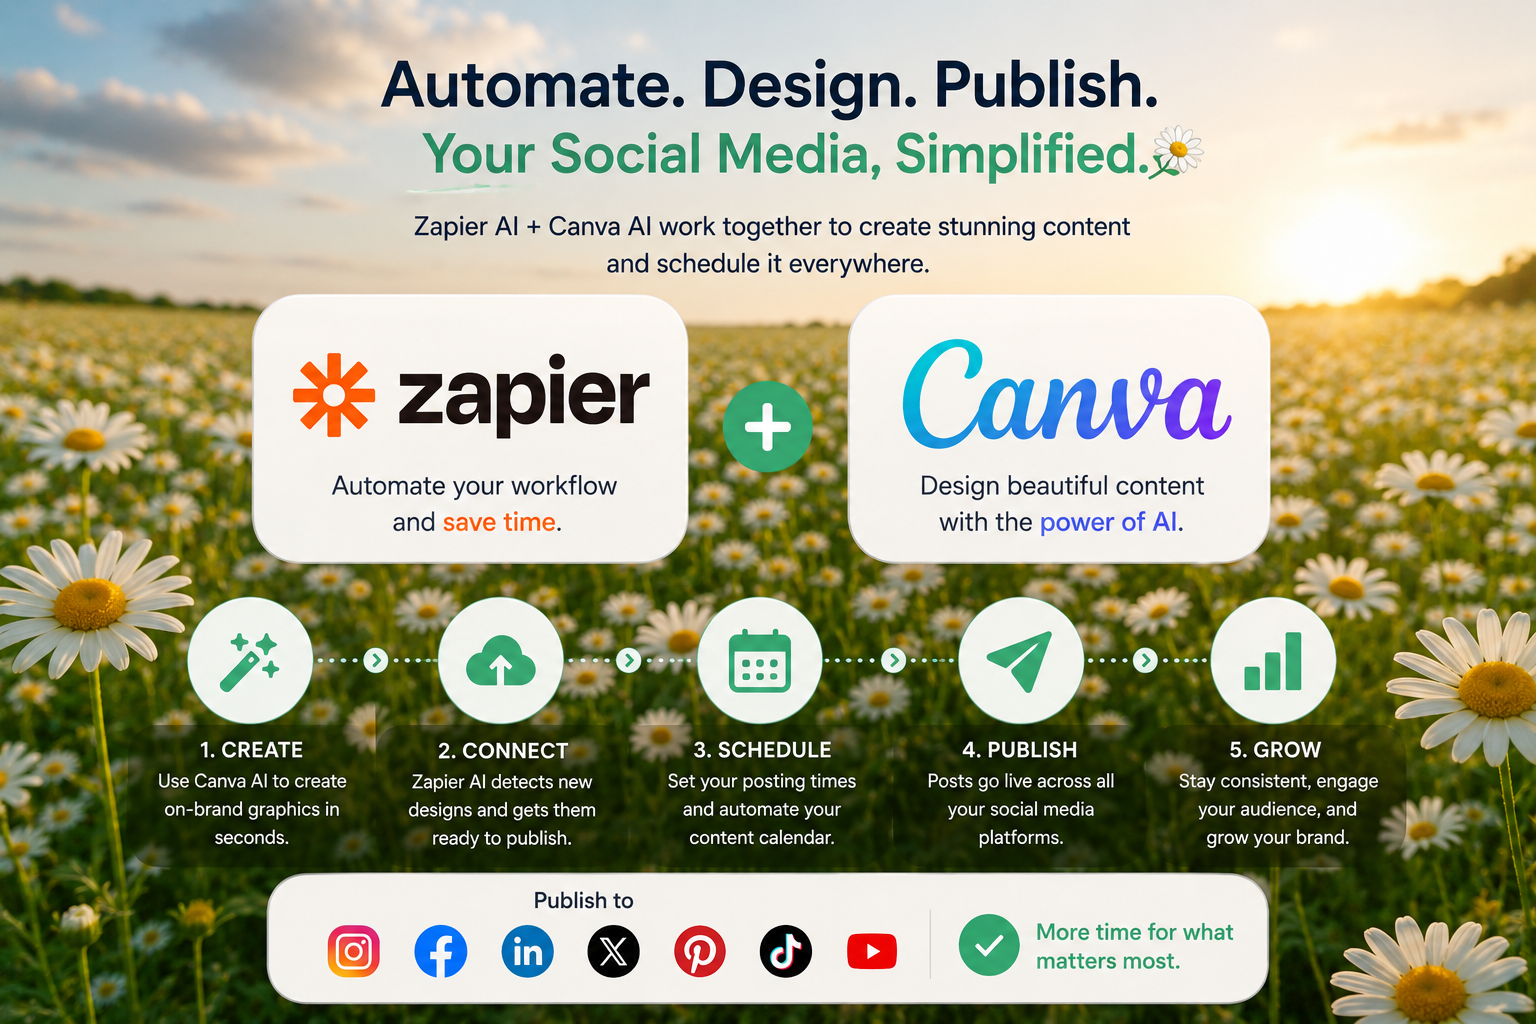
Creating social media content consistently sounds simple until you’re actually doing it every week.
Most creators, freelancers, and marketing teams eventually run into the same problems:
- designing graphics repeatedly
- rewriting captions constantly
- forgetting posting schedules
- publishing inconsistently
- juggling multiple platforms
- managing deadlines manually
That’s where combining Zapier with Canva and its AI tools becomes extremely useful.
Instead of manually designing, exporting, uploading, and scheduling every post, you can build a workflow that automates large parts of the process while still keeping creative control.
The result is a social media pipeline that saves time without making your content feel robotic.
Why Social Media Automation Matters
Manual social media management creates a surprising amount of invisible work.
Things like:
- resizing graphics
- copying captions
- organizing files
- scheduling posts
- tracking publishing dates
- updating designs repeatedly
These small tasks slowly consume hours every week.
Automation helps reduce that repetitive workload.
The goal is not replacing creativity.
The goal is removing repetitive admin work that drains energy.
Step 1: Build a Proper Brand Kit Inside Canva
Before automating anything, your Canva workspace needs structure.
This step matters more than most beginners realize.
Inside Canva, create a brand kit including:
- logos
- primary colors
- secondary colors
- fonts
- visual guidelines
Once this is set up, Canva AI starts generating designs that actually match your visual identity.
Without this step, AI-generated designs often look generic or inconsistent.
Create Reusable Templates Instead of Starting From Scratch
One of Canva AI’s biggest strengths is template-based design generation.
Instead of redesigning posts every time:
Create reusable layouts.
Example:
A weekly newsletter template might include:
- fixed logo placement
- consistent colors
- text placeholders
- reusable typography
Then Canva AI can generate variations automatically simply by changing titles or dates.
This dramatically speeds up content production.
Common Beginner Mistake: Skipping Brand Setup
Many users jump directly into Canva AI without defining brand structure first.
The result:
- inconsistent visuals
- random typography
- off-brand color usage
- repetitive manual corrections
Good automation starts with good structure.
Step 2: Connect Canva AI to Zapier AI
Once your templates exist, Zapier becomes the automation layer connecting design creation to publishing workflows.
Think of Zapier as the system moving your content automatically between platforms.
Example workflow:
- Canva AI finishes a design
- Zapier detects the new file
- The image gets uploaded automatically
- Captions are attached
- The post enters your scheduling system
This removes a huge amount of repetitive uploading and organizing work.
Use “Design Published” Triggers
A useful setup is triggering workflows when a Canva design becomes finalized.
Zapier can then:
- save images to cloud storage
- organize assets automatically
- send files to scheduling platforms
- trigger approval notifications
This creates a much cleaner publishing pipeline.
Metadata and File Naming Matter More Than You Think
One hidden automation problem:
Poor file naming.
If graphics are named randomly, workflows become confusing quickly.
Instead, use clear naming structures like:
- IG_ProductLaunch_01
- LinkedIn_Newsletter_02
- TikTok_Clip_03
This helps Zapier identify which content belongs to which platform.
Step 3: Build Your Posting Schedule in Zapier
Zapier AI can automate publishing schedules across multiple platforms.
Example setup:
- Monday / Wednesday / Friday
- 9:00 AM
- different post types per day
- platform-specific caption variations
Zapier can automatically:
- fetch Canva graphics
- attach captions
- send posts to schedulers
- trigger notifications
This reduces the need to manually publish content every day.
Don’t Batch Everything Into One Giant Automation
Many beginners try creating one enormous automation workflow.
Usually this causes:
- broken triggers
- publishing confusion
- debugging nightmares
Instead:
Treat each content type separately.
Example:
- Instagram workflow
- LinkedIn workflow
- TikTok workflow
Smaller automations are easier to maintain.
Timezones Can Quietly Break Your Workflow
This is one of the most common mistakes in scheduling automation.
Posts accidentally publish:
- too early
- too late
- overnight
- outside peak engagement windows
Always verify timezone settings carefully inside Zapier.
Especially if working with clients in different countries.
Step 4: Test Your Workflow Before Going Live
Never trust automation blindly.
Test everything manually first.
Common issues include:
- wrong graphics
- broken captions
- missing metadata
- incorrect scheduling
- failed uploads
Run multiple test posts before relying on the system fully.
Add Notifications for Failed Automations
One small but important improvement:
Set up alerts.
Zapier can notify you through:
- Slack
- Discord
- mobile notifications
Whenever:
- a post fails
- an upload breaks
- a schedule gets skipped
This prevents silent failures.
Different Platforms Need Different Content Formats
One major mistake:
Using identical content everywhere.
Every platform behaves differently.
Examples:
- vertical or square visuals
- shorter captions
- stronger visuals
- landscape graphics
- longer text
- professional tone
TikTok / Shorts
- vertical video-first content
- hook-heavy captions
Your Canva templates should account for these differences from the start.
Canva AI Helps Resize Content Faster
Instead of manually redesigning every post variation, Canva AI can help:
- resize layouts
- reposition elements
- adjust templates
- adapt visuals for each platform
This saves a surprising amount of time weekly.
Common Automation Problems You’ll Eventually Hit
Most workflows eventually encounter issues like:
- broken permissions
- missing files
- disconnected accounts
- incorrect captions
- duplicate posts
Regularly checking Zapier logs helps catch problems early.
Automation Still Needs Optimization
Good automation workflows evolve constantly.
Track:
- engagement performance
- posting times
- click-through rates
- content formats
- audience response
Then refine:
- Canva templates
- posting schedules
- caption structures
- publishing frequency
Automation works best when continuously improved.
Final Thoughts
Using Zapier AI with Canva AI creates a practical system for automating repetitive social media work without losing creative control.
The real benefit is not just scheduling posts faster.
It’s building a workflow that helps you:
- maintain consistency
- reduce repetitive work
- stay organized
- publish more reliably
- spend more time on creative strategy
The best systems are usually simple, structured, and tested carefully.
Start small.
Automate repetitive tasks first.
Refine the workflow gradually as your content operation grows.
That’s how social media automation becomes genuinely useful instead of becoming another complicated system to manage.