Most people still think of Canva as a simple graphic design tool for creating social media posts, presentations, and marketing materials. While Canva excels at those tasks, many users never discover some of its most powerful features.
If you're a content creator, blogger, marketer, business owner, or social media manager, these hidden Canva features can dramatically improve your workflow and save countless hours every month.
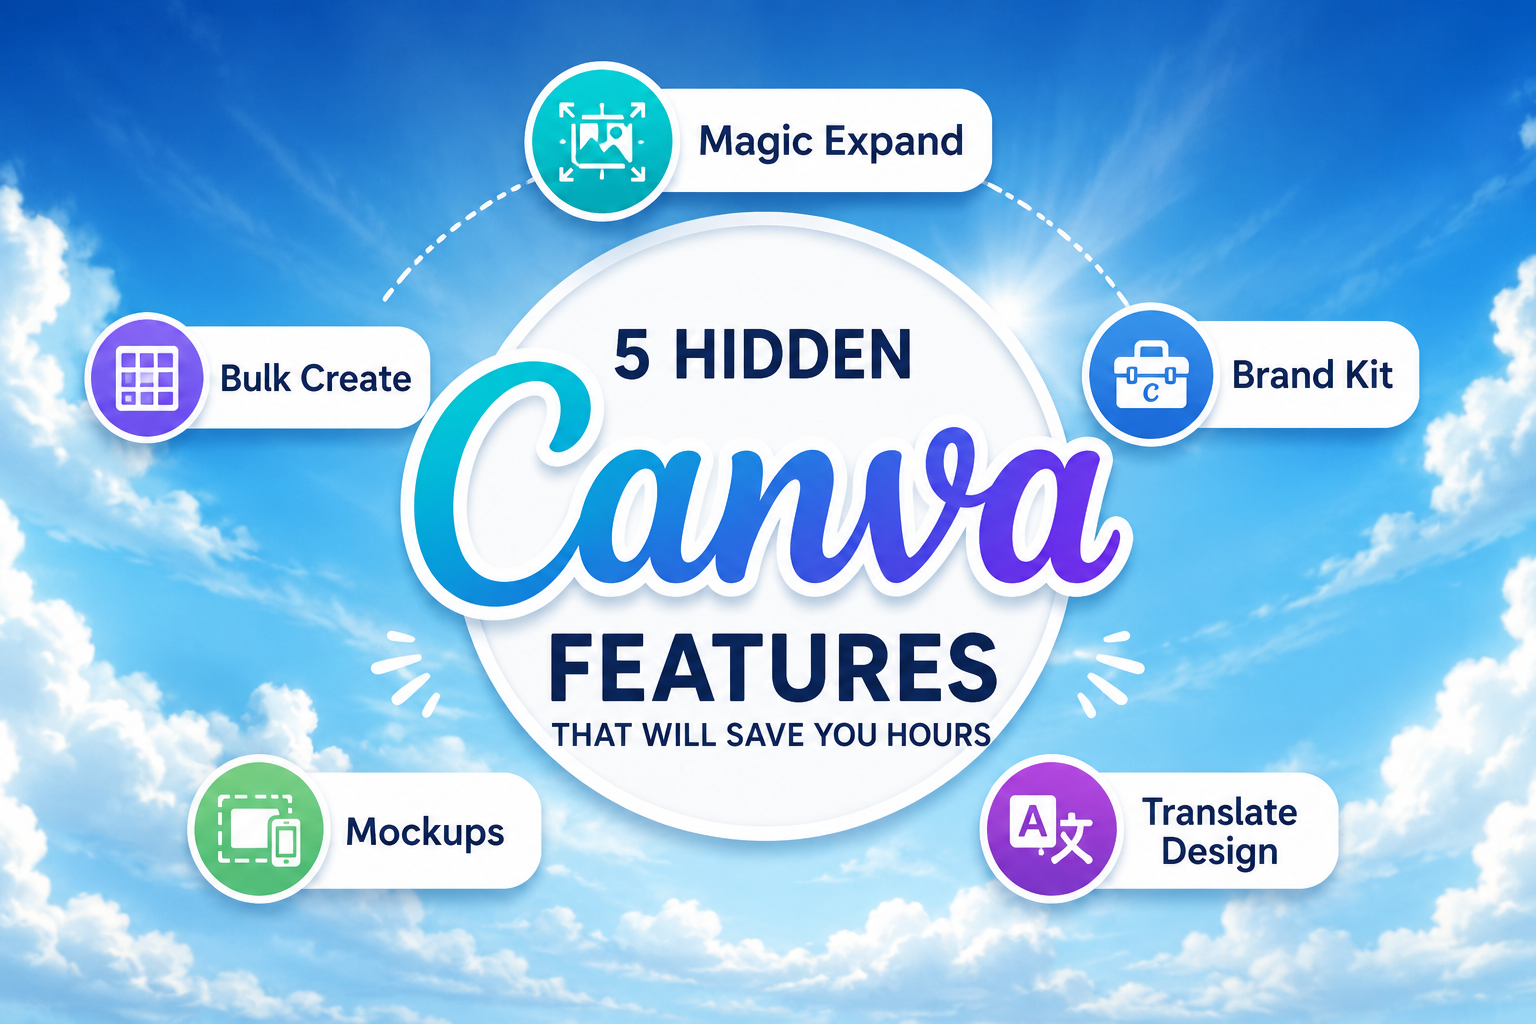
In this comprehensive guide, you'll learn how to use five of Canva's most underrated features step by step. We'll cover what they do, when to use them, how to set them up, and common mistakes to avoid.
By the end of this guide, you'll be able to create content faster, maintain brand consistency, and scale your content production more efficiently.
Why Most Canva Users Miss These Features
Many Canva users focus only on templates and drag-and-drop design tools. While those features are useful, Canva has evolved into a complete content creation platform powered by artificial intelligence, automation, and collaboration tools.
The features covered in this guide can help you:
- Create content at scale
- Repurpose visuals for multiple platforms
- Maintain a consistent brand identity
- Translate content into multiple languages
- Present designs more professionally
- Save significant time on repetitive tasks
Let's explore the five Canva features that can completely transform your workflow.
1. Magic Expand: Instantly Extend Any Image with AI
Magic Expand is one of Canva's most impressive AI-powered tools. It allows you to expand the boundaries of an image and automatically generate missing areas using artificial intelligence.
This is particularly useful when you need to resize an image for different platforms without cropping important elements.
For example:
You may have a square Instagram image but need a wide blog banner. Instead of cropping or stretching the image, Magic Expand can intelligently generate additional background content around the original photo.
What Can Magic Expand Do?
With Magic Expand, you can:
- Convert square images into landscape formats
- Adapt vertical photos for YouTube thumbnails
- Extend backgrounds naturally
- Create more space for headlines and text overlays
- Repurpose one image across multiple platforms
This feature is especially valuable for bloggers, marketers, and social media managers who frequently work with different image dimensions.
How to Use Magic Expand
Step 1: Open Your Design
Log into Canva and open an existing design or create a new one.
Step 2: Select Your Image
Click on the image you want to edit.
Step 3: Open Photo Editing Tools
Select Edit Photo from the toolbar.
Step 4: Choose Magic Expand
Locate the Magic Expand feature within Canva's AI editing tools.
Step 5: Select the Desired Format
Choose how much you want the image expanded.
Step 6: Generate Variations
Canva will generate multiple AI-created versions.
Step 7: Review and Apply
Choose the most natural-looking result and apply it to your design.
Best Practices for Magic Expand
Magic Expand performs best with:
- Landscapes
- Nature photography
- Product photos with simple backgrounds
- Interior design images
- Lifestyle photography
Always inspect AI-generated areas carefully, especially around faces, logos, text, and detailed objects.
2. Bulk Create: Generate Hundreds of Designs Automatically
Bulk Create is arguably Canva's most underrated productivity feature.
Instead of manually creating dozens of similar designs, Bulk Create allows you to connect a spreadsheet and automatically generate multiple versions from a single template.
For content marketers and SEO publishers, this feature can save hours of repetitive work.
What Is Bulk Create Used For?
Bulk Create is ideal for:
- Blog featured images
- Pinterest pins
- Social media graphics
- Product catalogs
- Event announcements
- Marketing campaigns
- Personalized content
Imagine publishing articles such as:
- Best AI Tools for Students
- Best AI Tools for Teachers
- Best AI Tools for Writers
- Best AI Tools for Designers
- Best AI Tools for Small Businesses
Instead of creating five separate graphics, you can build one template and let Canva generate all versions automatically.
How to Use Bulk Create
Step 1: Create a Design Template
Design a layout containing placeholders for titles, descriptions, or images.
Step 2: Open Canva Apps
Navigate to the Apps section.
Step 3: Launch Bulk Create
Search for and open Bulk Create.
Step 4: Import Your Data
Upload a CSV file or manually enter data.
Example:
Title
Category
Best AI Tools for Students
Education
Best AI Tools for Writers
Writing
Best AI Tools for Designers
Design
Step 5: Connect Data Fields
Match spreadsheet columns to design elements.
Step 6: Generate Designs
Canva automatically creates multiple versions based on your data.
Step 7: Review Results
Inspect each generated design and make adjustments if necessary.
Why Bulk Create Is Powerful for SEO
SEO success often requires publishing content consistently.
Bulk Create helps you:
- Produce blog graphics faster
- Create Pinterest visuals at scale
- Generate LinkedIn content graphics
- Build category-based image libraries
- Maintain visual consistency across content
For content-heavy websites, this feature can significantly reduce production time.
3. Brand Kit and Brand Voice: Build Consistent Branding
Many Canva users only upload their logo and stop there.
However, Brand Kit is one of Canva's most valuable tools for maintaining a professional and recognizable brand identity.
Combined with Brand Voice, it helps ensure consistency across all visual and written content.
What Is Brand Kit?
Brand Kit allows you to store:
- Logos
- Brand colors
- Fonts
- Templates
- Icons
- Visual assets
This ensures every design follows the same branding guidelines.
How to Set Up Brand Kit
Step 1: Open Brand Hub
Go to the Brand section in Canva.
Step 2: Upload Your Logo
Add primary and secondary logo versions.
Step 3: Define Brand Colors
Add your primary, secondary, and accent colors.
Step 4: Choose Fonts
Select heading and body fonts.
Step 5: Save Brand Assets
Upload frequently used graphics and visual elements.
Step 6: Create Brand Templates
Build reusable templates for future projects.
What Is Brand Voice?
Brand Voice helps Canva AI understand how your brand communicates.
For example, you might define your tone as:
- Professional
- Helpful
- Clear
- Educational
- Friendly
This allows Canva's AI writing tools to generate content aligned with your brand personality.
Common Branding Mistakes
Avoid:
- Using too many fonts
- Using too many colors
- Changing styles frequently
- Inconsistent logo placement
Strong brands prioritize consistency over complexity.
4. Mockups: Present Designs Like a Professional
Mockups help transform ordinary graphics into professional presentations.
Instead of showing a flat image, you can place your design inside realistic environments such as laptops, smartphones, product packaging, posters, or business cards.
This instantly improves perceived quality and professionalism.
Why Use Mockups?
Mockups help you:
- Showcase websites on devices
- Present app designs realistically
- Display logos on products
- Create better portfolio projects
- Improve marketing visuals
For example, a website screenshot displayed on a laptop mockup looks far more professional than a simple screenshot.
How to Create Mockups in Canva
Step 1: Upload Your Design
Import the image or graphic you want to showcase.
Step 2: Open Apps
Go to Canva Apps.
Step 3: Search for Mockups
Open the Mockups feature.
Step 4: Select a Mockup Category
Choose from:
- Laptops
- Smartphones
- Tablets
- Posters
- Packaging
- Apparel
Step 5: Apply Your Design
Canva automatically positions your design within the mockup.
Step 6: Adjust and Export
Review the final result and export your design.
Mockup Best Practices
For better results:
- Use clean backgrounds
- Avoid overcrowded scenes
- Match mockups to your audience
- Maintain realistic proportions
- Keep visuals easy to understand
Professional mockups increase trust and engagement across websites, social media, and portfolios.
5. Translate Design: Create Multilingual Content Faster
Translate Design is one of Canva's most overlooked features.
If you create content for multiple audiences or markets, this tool can save an enormous amount of time.
Instead of rebuilding designs manually, Canva can automatically translate your content while preserving the original layout.
What Can Translate Design Do?
You can translate:
- Infographics
- Presentations
- Social media graphics
- Educational materials
- Marketing assets
- Blog graphics
This is especially valuable for businesses expanding internationally.
How to Use Translate Design
Step 1: Open Your Design
Select the design you want to translate.
Step 2: Open Canva Apps
Navigate to Apps.
Step 3: Launch Translate
Search for Translate.
Step 4: Choose Languages
Select the source language and target language.
Step 5: Select Pages
Choose whether to translate the entire design or specific pages.
Step 6: Generate Translation
Allow Canva to create the translated version.
Step 7: Review Everything
Check:
- Headline accuracy
- Text overflow
- Layout consistency
- Brand tone
- Terminology
Translation Best Practices
Although Canva provides impressive AI translations, human review is still essential.
Always verify:
- Cultural relevance
- Marketing language
- Industry terminology
- Calls-to-action
- Brand messaging
The best workflow combines AI speed with human editing.
How to Use These Canva Features Together
The real power of Canva comes from combining these tools into a content production system.
A practical workflow might look like this:
- Conduct keyword research.
- Create blog content.
- Design a featured image template.
- Use Bulk Create for multiple article variations.
- Use Magic Expand for different platform sizes.
- Apply Brand Kit for consistency.
- Create professional mockups for promotion.
- Translate successful content into additional languages.
This workflow helps content teams publish more efficiently while maintaining quality and consistency.
Final Thoughts
Most Canva users never move beyond templates and basic editing tools.
However, features like Magic Expand, Bulk Create, Brand Kit, Mockups, and Translate Design can dramatically improve your content creation process.
These tools help you:
- Save time
- Scale content production
- Maintain branding consistency
- Reach international audiences
- Produce more professional designs
Whether you're a blogger, marketer, entrepreneur, or content creator, learning these hidden Canva features can give you a significant advantage.
The more strategically you use Canva, the more it becomes a complete content creation system rather than just a design tool.
Start with one feature, implement it in your workflow, and gradually combine the others. You'll quickly notice improvements in both productivity and content quality.